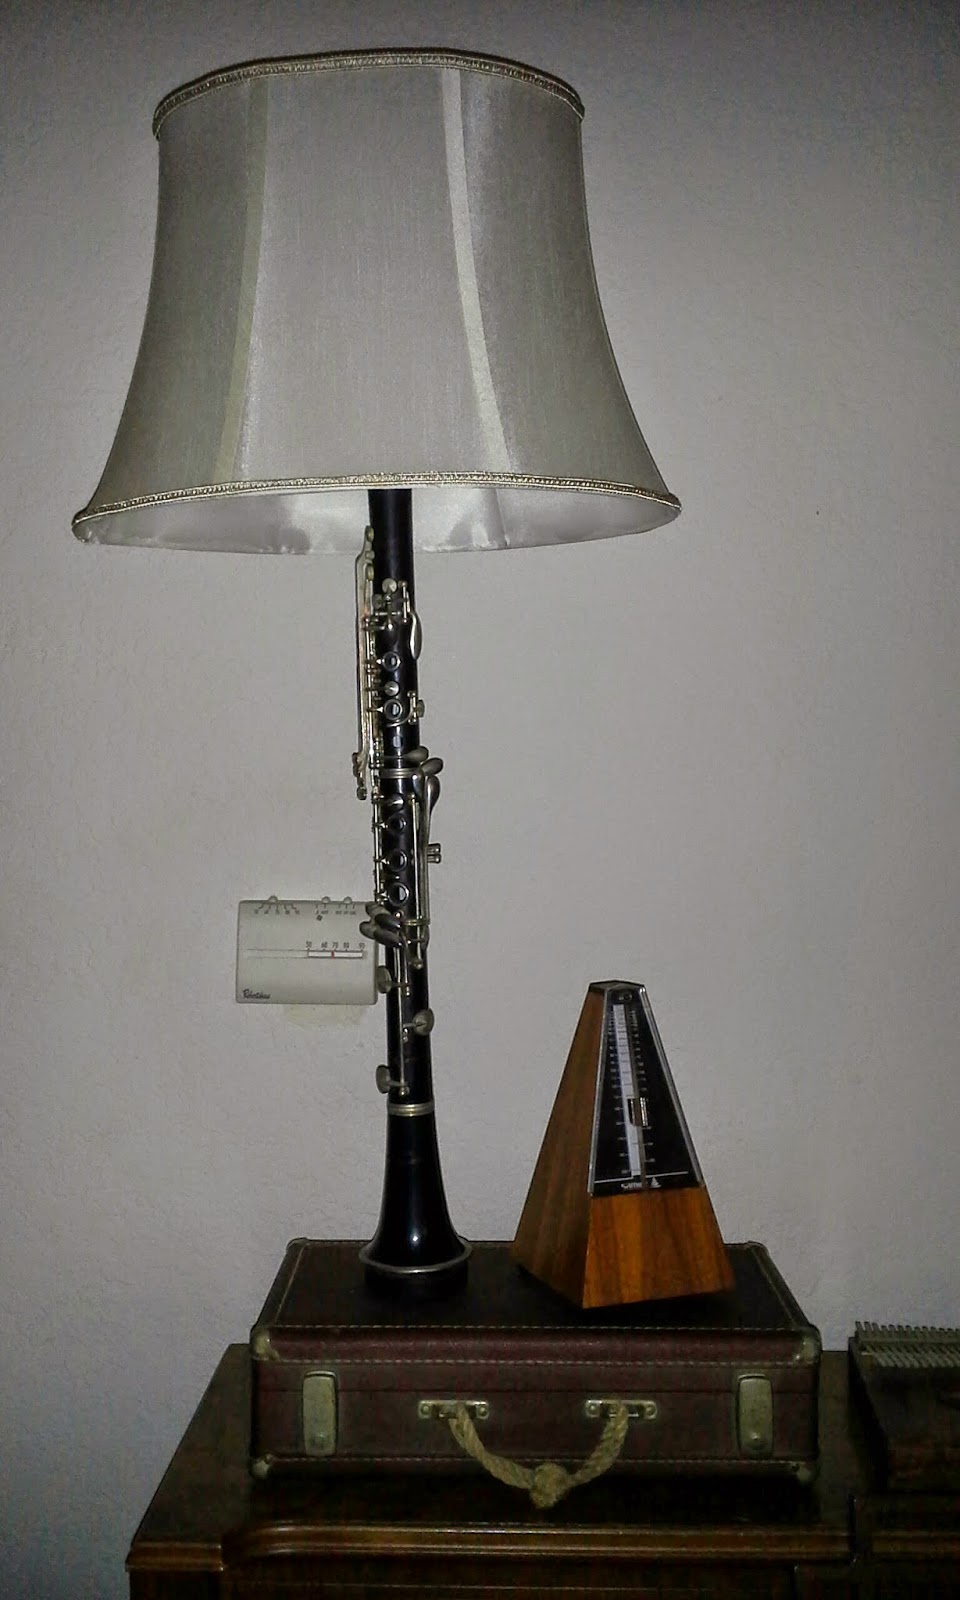
Check out what we made!
My friend had this wicked awesome idea for a clarinet that would cost more to fix than is currently worth it... so after multiple trips to the hardware store, and taking it apart and putting it together more times than I can count... it's ready!
Ta DA!!!!
Note that in this version the clarinet has not been modified in any way, so if at anyone is so inclined it can be repaired and used again. In another version though I would like to make one that has the light switch be one of the keys.
If you're so inclined, the gory details of the learning process are included here for your entertainment:
We left the mouth piece, and the next top section off as this seemed to be a better height. The piece from the lamp kit fits nicely inside once you've whittled it down a fair amount.
Spray paint the gold pieces before you put it together three or four times... We found that leaving the flat bit out let the whole fixture nestle nicely in the neck of the clarinet and just felt more sturdy than having it perched on top.
Drilling through the case... I stand corrected, the drill bit will try to roll in the cotton batting, like it's so excited it's never seen cotton batting before roll in it, and then it will eat it all up.
And finally, after you've taken it apart and put it together "a few" times, make sure the light bulb is snugged all the way in before you despair that you've broken it or mis-wired something.


No comments:
Post a Comment